Reolink Argus Pro review, by Bryan Kollar
Reolink Argus Pro, the completely wireless wi-fi security camera. In my opinion, a major upgrade from the Reolink Argus in many ways. (Click here for my review of the original Reolink Argus) and just as good (if not better) than the Reolink Argus 2 (Click here for my review of the original Reolink Argus 2.) The $100 price tag is well worth it’s weight in gold. No need to replace batteries. Just set it in place, and forget about it until it’s time to recharge. Or - never charge it - if you purchase a solar panel to go with it!
Just like the previous model, this cam feels good in your hand. Not some cheap plastic ‘toy.’ Most of the weight of this cam is from the detachable battery. It comes with the following components:
- Reolink Argus Pro camera
- Rechargeable Battery
- Outdoor Security Mount (with hook & loop strap)
- Rubber skin for better protection with weather conditions
- Reset needle
- Surveillance sticker
- All necessary mounting hardware & templates
- Micro USB cable
July 2018
You charge the batteries in this cam just like you do with its predecessor, the Reolink Argus 2, simply by plugging in a USB cable in to charge the battery. A fully charged battery pack lasts at least a month or more, depending on how often the camera triggers a recording. The only slight issue I see is that when the batteries run out, you have to take the cam out of service until they have a charge again. For most people that won’t be a problem, but there are two solutions to this slight issue. 1) Get a second replacement battery and keep it fully charged (you can charge the battery without it being on the camera with a simple micro usb cable). There is a charging light on the battery itself so you know when it’s fully charged. 2) Purchase a solar panel for $30 that will keep it charged so you NEVER have to take your cam out of service. (See below for solar panel review.)
I really love the fact that this cam can use the same security mount as the other cams, but I’m a little disappointed that it no longer comes with the magnetic mount.
Setup of the cam was extremely easy with the Reolink app. Thankfully it uses the same app as their other cams, so all I had to do was scan the bar code on the cam and follow the on-screen prompts and voice guidance. Literally within seconds, I setup my cam using my in-home wi-fi. This is the only way the cam can operate. Stay tuned for the review of the Reolink Go, a cellular only camera!
When you first bring up the app, it displays all the cams you have connected to your network. From here, you can either click on the cam you want to view, or once viewing the cam, you can view all cams at the same time. If you prefer, you can set the app to start live view of the cams as soon as you open it.
In the app settings, you can set it to start recording as soon as it detects movement and either send you a notification via the app, or send you an email with photo attachment of what it captured (or both.) It will continue to record until it doesn’t detect movement any longer.
Then, if you want, you can log into your camera and view live what the cam is recording, from anywhere in the world. You can even talk to whatever is setting off the motion.
If you get too many notifications, you can either stop them all together or adjust the sensitivity.
Another great option for recording is saving your videos to the cloud - automatically - with the Reolink Cloud storage! This monthly paid service is still in the beta stage, but using this would eliminate the need for an SD card. And, if someone were to steal your cam, you’d still have the footage - on the cloud!


|
||
|
The Argus Pro tells you the exact battery percentage remaining, and warns you when the battery is low. Even though I have never drained the battery in this cam yet because I started using it immediately with the add-on solar panel accessory (see below), I would strongly suggest purchasing one. You will NEVER have to charge your battery again. Otherwise, here are some more battery saving tips. |
|
|
||


Even in the dead of night, the cameras night vision is superb. In the snapshot below, the only light here was coming from the moon.
|
|
|||
|


Although you can use the Argus Pro without the solar panel, I do recommend getting one. It is only an additional $30, and well worth it. The solar panel will keep a charge to the camera forever.
The cable is long enough (a bit too long, to be honest), but if you need to mount the solar panel far away from the cam, you have that option. Better too long than too short!

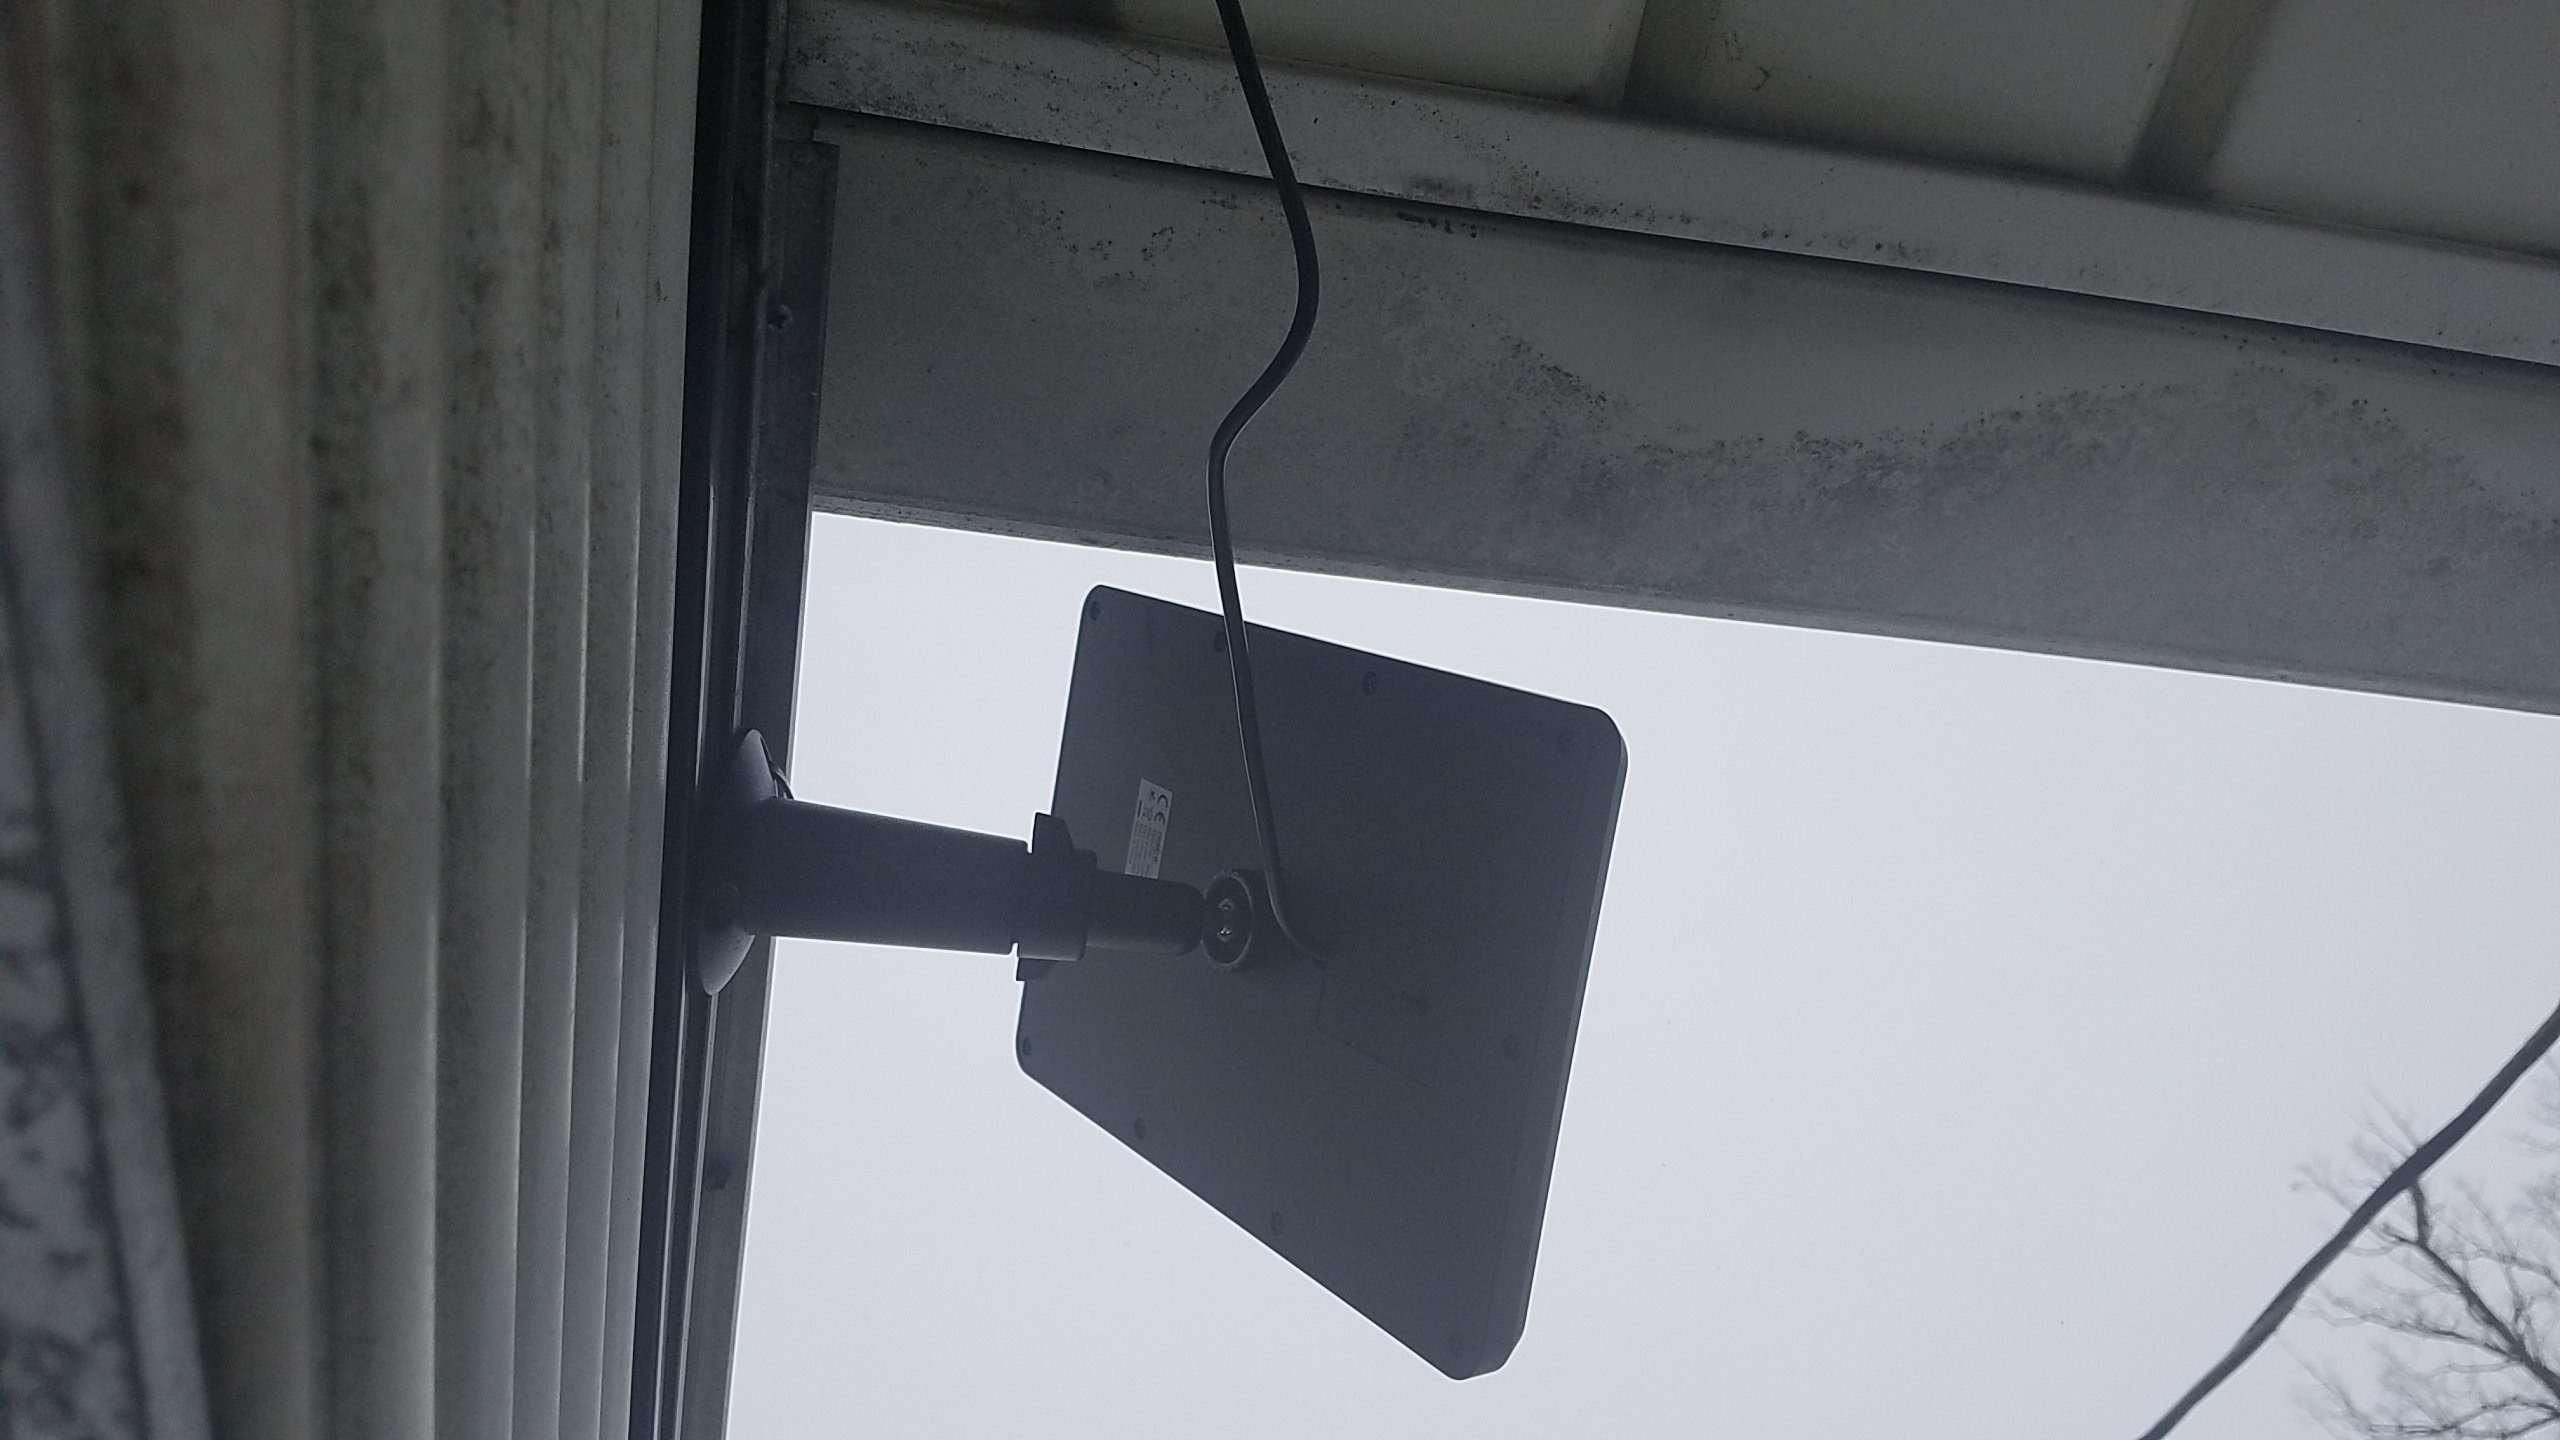
The panel is larger than I thought it would be (which is a good thing) but it did limit the space as to where I was able to place it on my small porch, but the bigger the panel, the more its going to charge the cam. I’ll take that! I was a little disappointed that the base wasn’t magnetic. Where I needed this mounted was very difficult to install, which was on top of my metal awning. It would have been so easy to just reach up, set it in place, and it’s done. Otherwise, I’d have to get on a ladder and do some drilling, which would put me in a very awkward position on the ladder. How hard would it be to design a magnet that screws into the bottom of the base? But I found a different way....

A simple zip tie through the bottom of the base, wrapped around an opening on the side of the awning.
So... in conclusion, I see no reason not to purchase one of these brilliant security cams and solar panels. From the ease of setup to the peace of mind knowing that my home is secure... That I never have to worry about batteries dying on me. That I can check on my dog in the backyard to make sure she’s ok.... All from the comfort of my couch.


|
The Reolink app could also use some improvements as far a saving video clips. It’s kind of tedious to take a video clip directly from the app and save it to the phone. Although, If I pop the MicroSD card into an adapter and then into my computer, I can access the files a lot quicker and easier. In this case, you’d have to have a video editing program. |
|
|

|
|


Size 31 on website, https://www.flamingtext.com/logo/Design-Fabulous?_variations=true


